Lately I have been focusing my work on extending the graphics capabilities of the Pixleon engine. I have done some other tasks as well but this post will mostly focus on graphics related work.
Here is a list of the topics I have been digging into:
- Anti aliasing.
- Bloom.
- Normal mapping.
- Environment mapping.
- Tweak SSAO.
- Outline for blocks to be placed.
- Blender sculpting, decimation and UV-mapping.
- Eye highlight.
Anti aliasing
Up until now I have relied on the GPU built-in FXAA solution to reduce “jaggies” when rendering frames for Marbleous Blocks. It is fast and gets the job done but it can also have a negative effect on the crispness of the rendered frame. This was very apparent when rendering text elements for the level editor. There is also a risk that the user playing the game does not have FXAA enabled.
To overcome this I have looked into other alternatives. There is a relatively new TAA solution that seems to be pretty popular nowadays, there is the OpenGL built-in MSAA solution and there are a couple of different versions of the already mentioned FXAA solution. Since MSAA is not recommended to use together with deferred rendering I decided to start by implementing FXAA. I realized there were already plenty of FXAA samples and finally I decided to port the following solution found on ShaderToy.
The result is better compared to no anti aliasing but it is not as good as the FXAA option found in the Nvidia control panel. I have not digged deeper into this yet though.
The HUD elements in the game are rendered using a forward rendering pass (blending it over the deferred rendered pass). For this part of the frame I was able to use the OpenGL built-in MSAA solution. Even though this is just a small detail of the entire frame I think it gave the game a much better look. This last part was actually a little bit tricky. The OpenGL library I use, GLEW, was pretty picky with how to activate this. If you have trouble getting this to work yourself please send an email and I will try to help out.
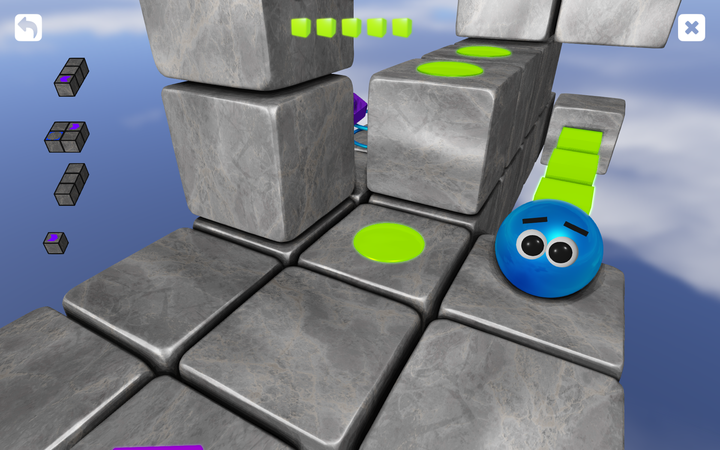
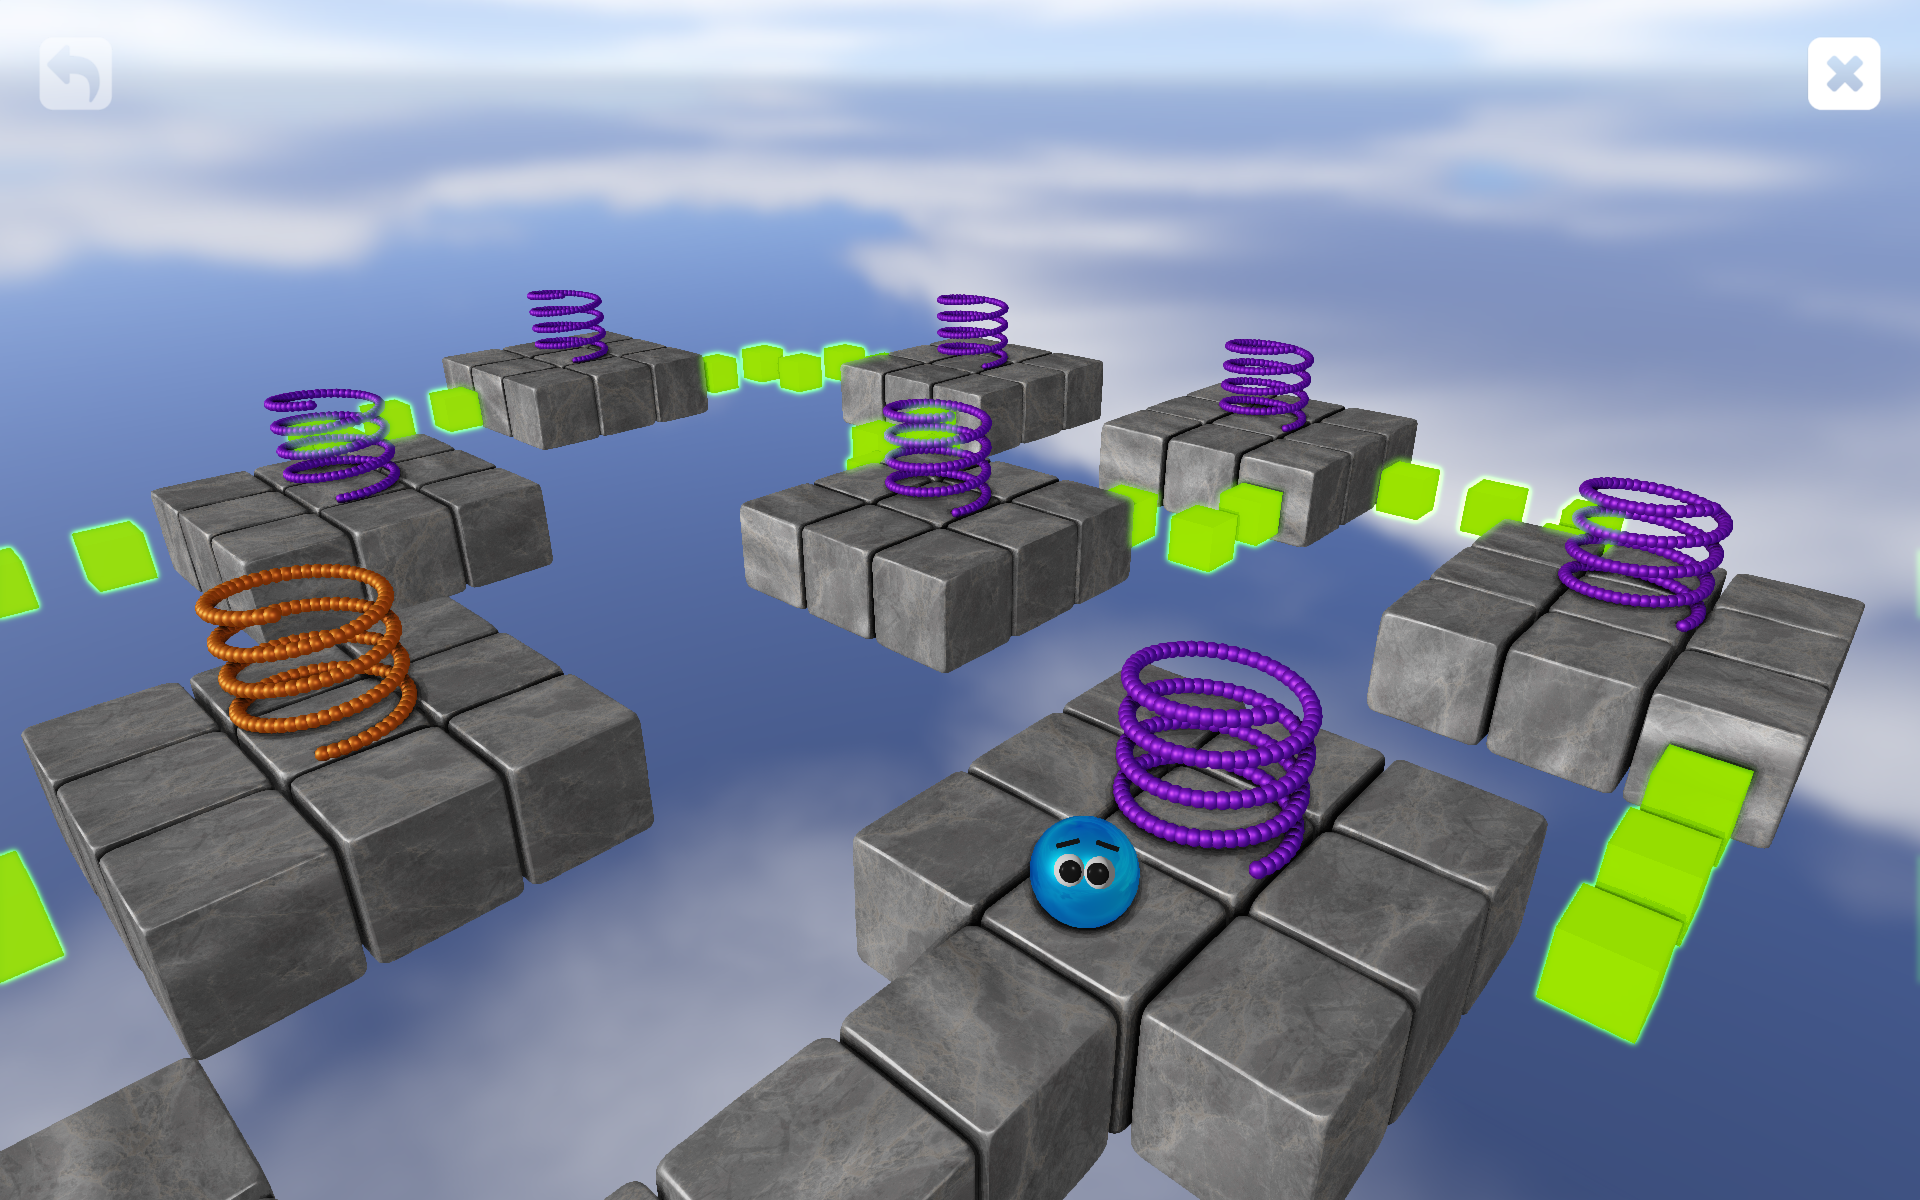
Bloom
Some of the play testers have had problems understanding that you cannot transport the marble across connector blocks. I do not blame them. Since they appeared solid the testers were frustrated when the marble passed through them. I needed something that conveyed the idea of energy and light. I needed the possibility to express a glow like effect.
I started exploring possibilities to implement this and once again I found a great article on Learn OpenGL. I want to underline that Learn OpenGL has been a fantastic resource throughout this entire project. The articles are great and there are even source code samples you can play around with.
With the sample code and text to go with that it did not take long time until I had a first solution up and running.
Normal mapping
By using normal maps it is possible to squeeze in a lot more surface detail without paying a high price in terms of performance. Since I use Assimp, to load my FBX models, and it can calculate tangent space vectors it was not that much of work to support tangent space normal maps in the engine. First I played around with pretty agressive normal maps but it did not really contribute as much as I would have hoped. Instead I decided to use a more subtle effect, just to add some variation between the blocks used in the game.
Environment mapping
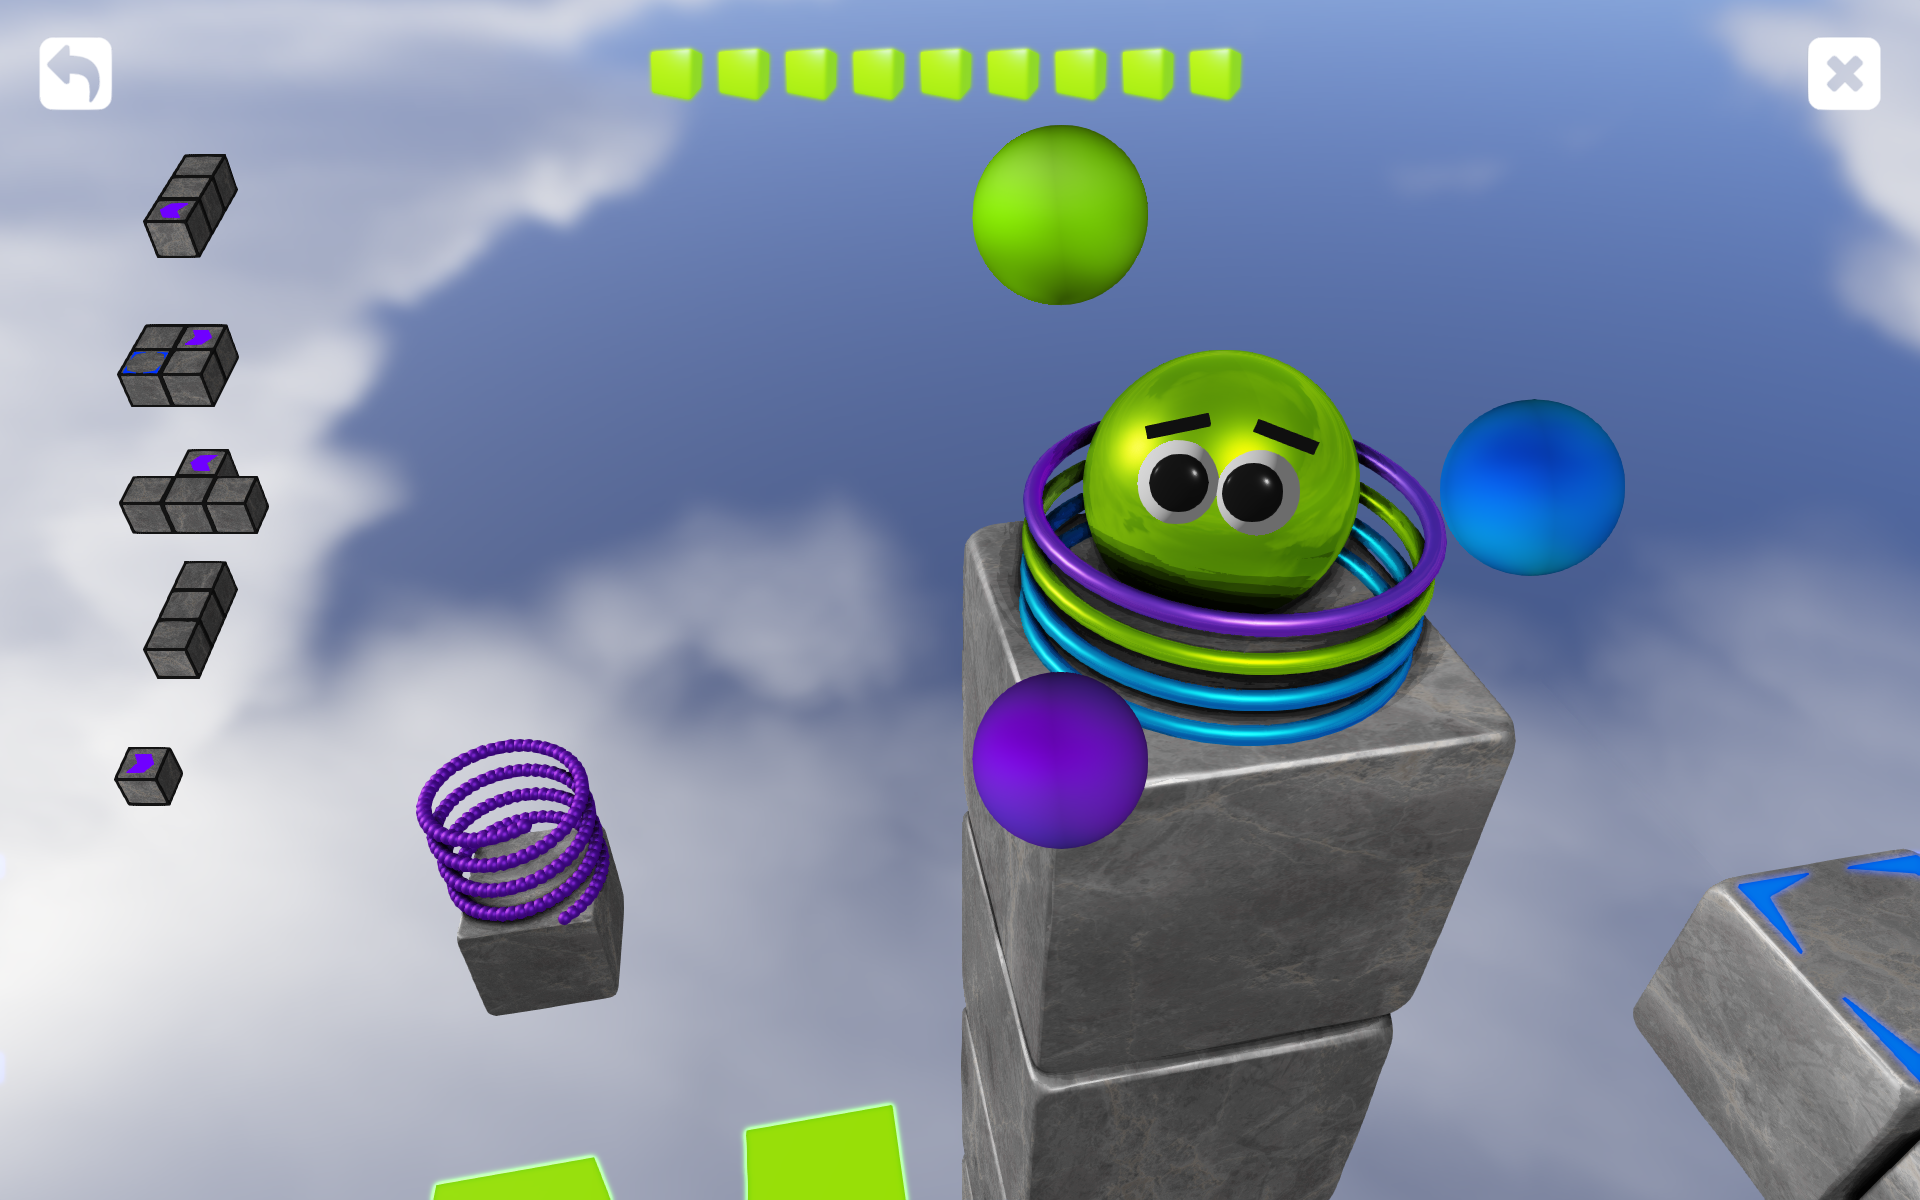
There are a few different blocks in the game and some have different meanings. Like the energy blocks that are needed to “pay” for blocks being placed in the game. I did not have a distinct look for these so I was thinking I should rely on the old “gold” look for this. Obviously I needed a way to render sharp reflections.
The easiest trick in the book for this is by using cube maps. Once I got it working and changed the look to something gold like it just did not feel right. Instead I ended up giving the energy blocks a look that relates to the glowing green connectors. I hope this will help the player to make the connection (no pun intended) between the energy blocks you pick up and the cost of the blocks you place in the game. We will see if this actually works out during future play testing.
Tweak SSAO
When I added support for bloom I noticed some nasty SSAO artifacts. I did have some artifacts before but it got way worse. Since something needed to change I started to look into various ways to tweak the existing solution. Removing SSAO completely was never an option since this effect is crucial to give the game a decent look.
The result was a more cartoon like effect which fits well into the game.
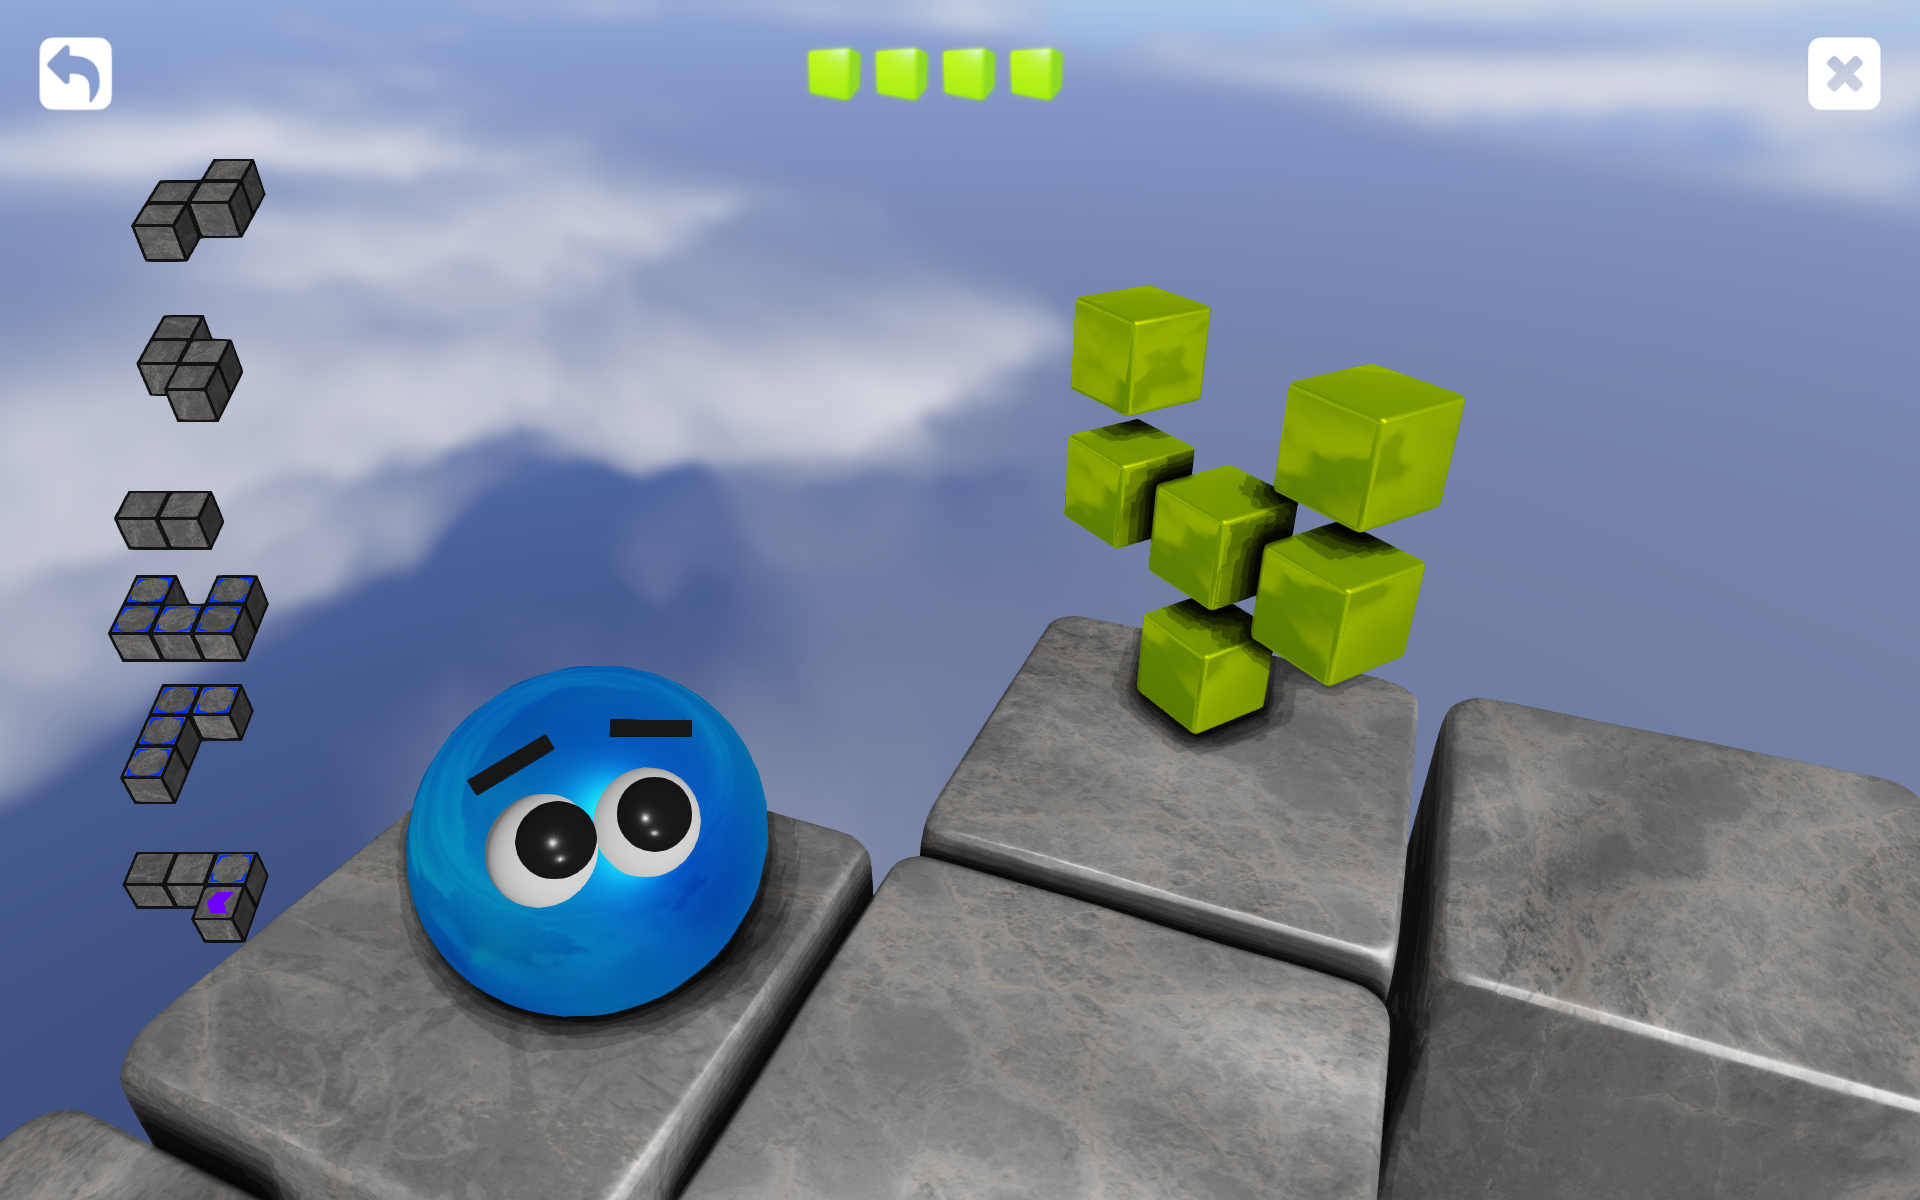
Outline for blocks to be placed
In order to improve interpretation of blocks being placed I added an outline around them. Since I render these without any SSAO this makes it easier to see the actual shapes of the blocks being placed.
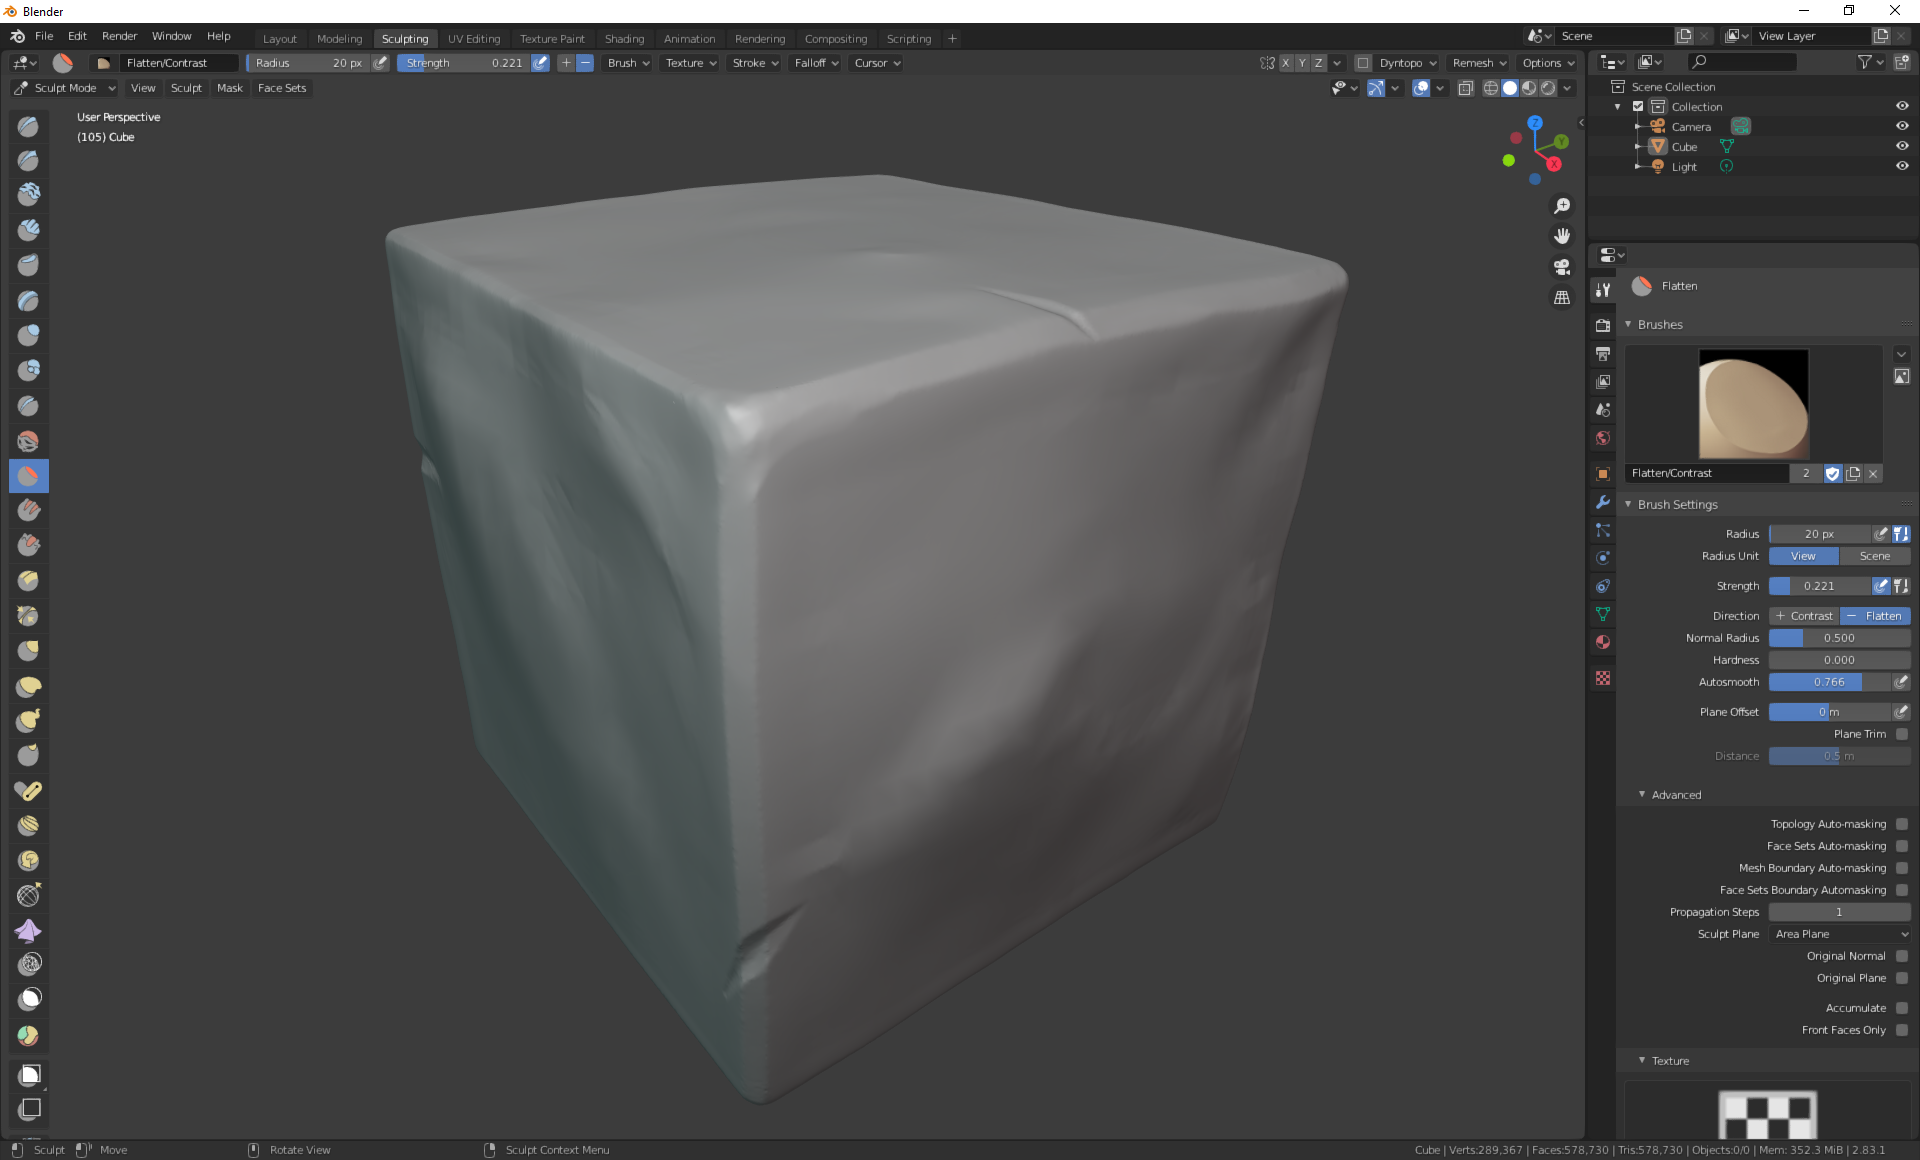
Blender sculpting, decimation and UV-mapping
Even though I like the wooden look of the blocks I got some feedback concerning them all looking the same. I decided to try out a stone look instead. How to model stones? Blender to the rescue. Once again I got the chance to use Blender and even though it was not without frustration it worked out pretty well.
I learnt a few new things concerning sculpting and started thinking about buying a Wacom. This video was a great source of inspiration. When something has been sculpted you need to reduce it in order to be able to use it in real-time. The reduction worked pretty well. I needed to do some hand tweaking to remove T-junctions etc but overall it worked out fine. Then I used a Blender feature called “Smart UV Project” in order to be able to map a stone texture to the blocks.
I also introduced some randomness when selecting how a block is being rotated in the game giving the games look a bit more variation. This could easily be improved further by adding a few more textures and normal maps (as discussed earlier).
Eye highlight
Last but not least I changed how the eye highlight is being rendered. Before I used an additional mesh for it. It works but it does not look natural. So instead I added an extra light source placed close to the camera to contribute with some specular effects. It is a hack but I think it worked out pretty good.